Aligning objects in Figma
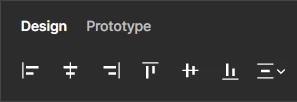
Figma, like any other editor, gives us the ability to align objects relative to each other. The alignment settings are in the inspector at the very top.

We can align objects both along the vertical axis and along the horizontal one. To do this, select all the objects and click on the corresponding icon.
The most interesting setting in Figma is the one on the far right, the so-called "smart alignment".
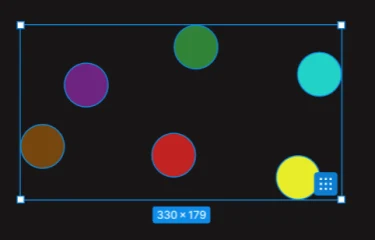
Let's say we have randomly placed objects:

It is enough to select them all and click on the icon that appears in the form of a square with dots:

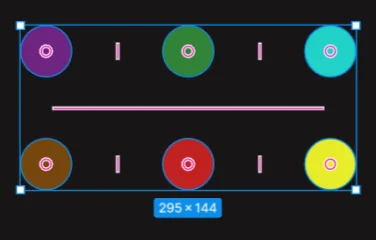
All our objects became in the format of a table relative to each other:

At the same time, new settings have been added to our inspector that change the distance in both planes.
You can change the distance in the inspector by left-clicking on the value and dragging it either to the right or to the left. Or simply enter the distance you need. And also, on the objects themselves, by dragging the guide lines.
There are control points on the objects themselves. These points allow us to change objects in place inside the table without violating the integrity of the table itself. It is enough to drag one object and put it in the place of another, and then slightly correct them and that's it.
You can change the objects as you like, while the distance between them will remain the same as it was from the very beginning.
If you need to swap one object with another, you need to hold down CTRL and swap them.
